Showing posts with label homemade. Show all posts

Friday, August 22, 2014

Skinny Chipotle Ranch


A week or so ago I made yogurt in the crockpot for the first time.  It was a huge success, and we've been using it in smoothies and eating it for breakfast.  I'd seen recipes that substituted yogurt for sour cream, but I'd never tried any of them.  With so much yogurt in the fridge, I decided that it was time to give it a go!

This chipotle ranch is sooooooo good!  We've eaten it with veggies, chips, and even as a spread on turkey sandwiches!  I used more peppers, because we LOVE spicy foods around here, but you can add more or less depending upon your preferences.

Even Squirrely Girl loved it, and she despises ranch!  Miss Bear said it was a little too hot for her, so next time I'd probably make two batches at different heat levels.  Bubba ended up eating it despite thinking it was hot.


Skinny Chipotle Ranch
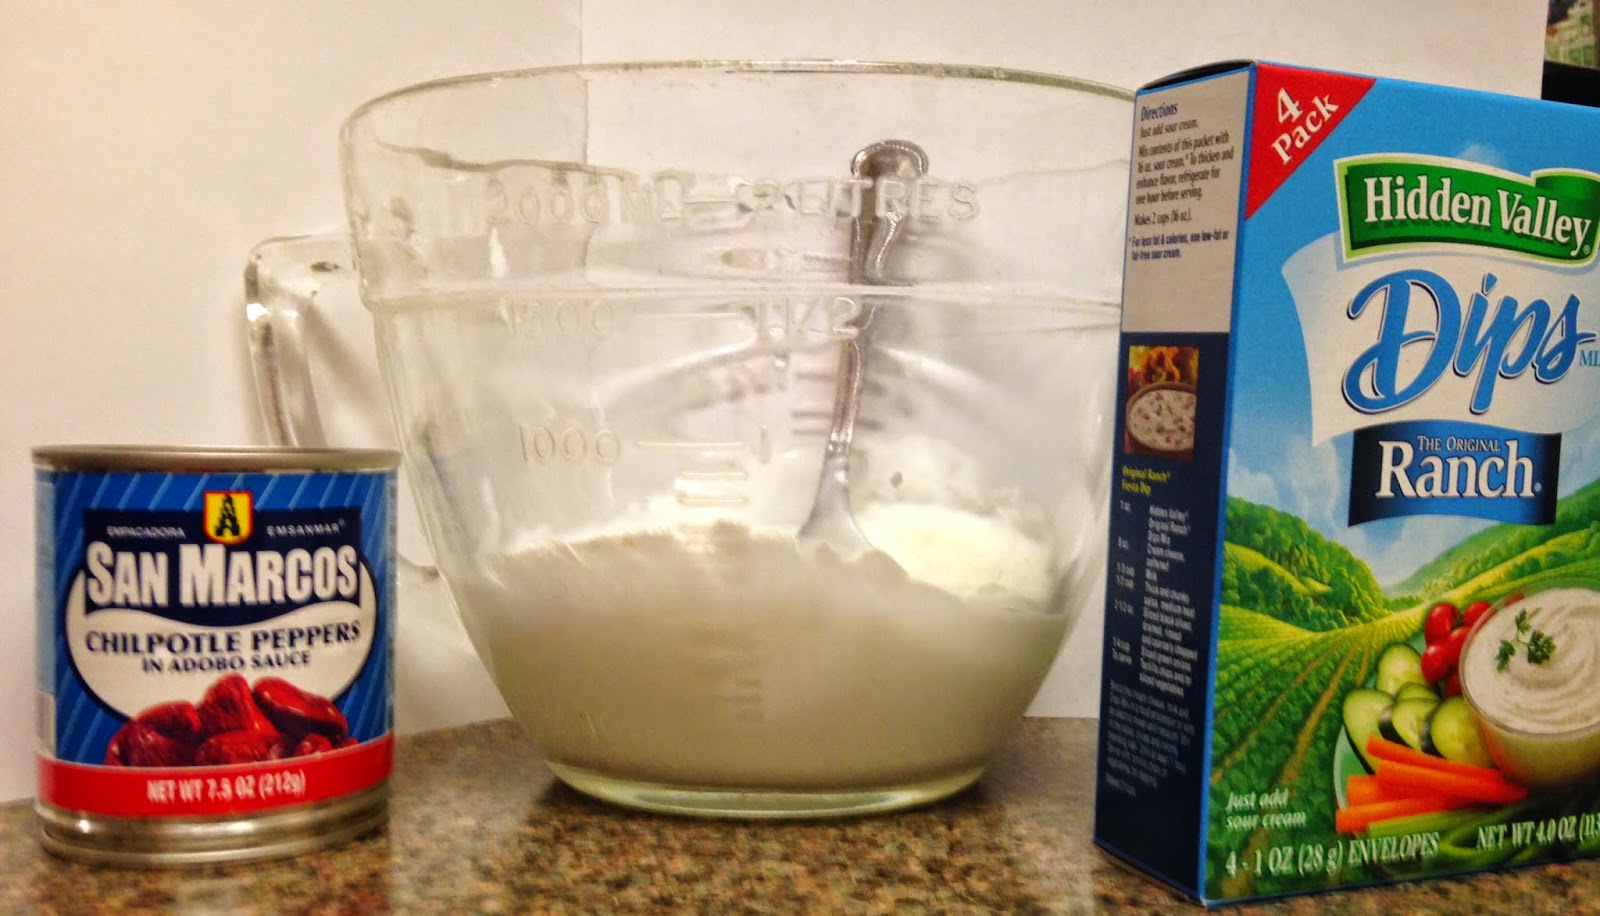
 

  • 2 cups plain yogurt
  • 2-5 chipotle peppers in adobo sauce,
  • 1 Packet Ranch dip mix (I used Hidden Valley because I had it on hand.  You could make your own mix to make this even healthier.)
  • Several tablespoons of adobo sauce (to your preference)

    Measure out your yogurt into a bowl. 
    Dice up your chipotle peppers.  Add them, plus a few tablespoons of adobo sauce, to the yogurt.
    Add Ranch dip mix.  Stir until combined.

We ate ours just after mixing it up, but it tastes even better after its had a chance to sit in the fridge.  The flavors meld together so nicely! 

ENJOY!


Tuesday, August 12, 2014

Homemade yogurt in the Crockpot!


Yes, you really can make delicious, creamy yogurt at home, in your crockpot!  It's true!

I was a bit of a skeptic myself.  I had seen this on several blogs as well as on Pinterest, but I was always a tad leery about it.  Could I really make homemade yogurt?  What if I messed it up, and wasted a half of a gallon of milk?

Well, I decided to throw caution to the wind and give it a try.  And let me tell you... I am so glad I did! 

The results were stellar!  We all enjoyed a bowl, along with a drizzle of honey, some homemade granola, and a few sliced cherries. 
 
Homemade Crockpot Yogurt:
  • 1/2 gallon of whole milk.  We used pasteurized, but I'd eventually like to go to using raw milk.

  • 1/2 cup yogurt starter--any yogurt with live cultures.  I started with Stonyfield organic.  You can use store bought for the first batch, and use a 1/2 cup of your homemade yogurt for your starter in subsequent batches.


Directions:
  • Pour your 1/2 gallon of milk into your crockpot and cover with lid.  Turn it on low and let sit for 2 hours and 45 minutes.  (We have the large crockpot, but I've seen that your can do this for 2 hours in the smaller ones.)
  • Turn your crockpot off, and unplug.  Allow your milk to sit for 3 hours.
  • Next, spoon 1-2 cups of your milk into a mixing bowl, and whisk it together with your 1/2 cup of yogurt starter.
  • Add the mixture back into your crockpot and whisk well, to distribute the live cultures so that they can grow.
  • Put your lid back on your crockpot and wrap in a couple of thick beach towels.  This helps to trap the heat.
  • Allow the crockpot to sit undisturbed for 8-12 hours.
  • At this point, you now have homemade yogurt!  Stir the yogurt and transfer into storage containers.  Refrigerate before serving.


We really enjoyed this yogurt, and I'm planning on making this regularly.  Next time, I think I'll even strain some to make greek yogurt as well as some homemade cream cheese! 

Making our own yogurt is such a money saver!  I can make a half gallon of yogurt for less than what I'd pay for a quart of the store bought stuff!


Enjoy!

Tuesday, August 5, 2014

Week 2 of MFW Learning God's Story


Last week, we finished up our second full week of first grade!  Phew!    Both Squirrely Girl and Bear are loving it so far!  For the most part, we've been going along with the MFW Learning God's Story lesson plans, but I've added spelling lists, comprehensive reading, and math minutes for daily practice for Squirrely Girl as well.  Oh yeah.... and lots and lots and lots of reading!

We also began using our nature journals this week.  For now, the girls are using journals that we made out of cereal boxes.  I found the idea on Pinterest awhile back, and making them was a fun activity for the girls.  (Plus... you can't beat free!)


Pretty impressed with Squirrely Girl's drawing of a
Monarch Butterfly. 


Bear decided that she wanted to make a rainbow spider
because realistic ones are "too scary"!  


I'm really looking forward to doing nature journals this year.  Our family really enjoys art as well as the outdoors, so this is a great way us to put the two together.  I just know that our nature journals will be treasured for years to come! I can't wait to see what their work looks like by the end of the year!


How was your homeschooling week?  What neat things do you incorporate into your nature journals?  I'd love to see what other's are doing! 


Thursday, August 8, 2013

Snickerdoodle Blondies

Lately, I've been on quite the baking kick.  Until recently, I actually hadn't made very many sweets from scratch, save for holiday baking.  That's when I discovered this great recipe for chocolate chip cookies I adore.  After that, I was hooked.

I've made some great cakes and brownies the past couple months, and just the other day baked up a batch of peanut butter chocolate chip blondies that were amazing.  I'll have to share those with you sometime soon.  Today, I got the idea to bake something with one of my favorite flavors: cinnamon. 


The search for cinnamon blondies began.  I read several different recipes for cinnamon blondies and snickerdoodle blondies, but they weren't quite what I was looking for.  I ended up building my own recipe, and let me tell you these things are delicious!

I wouldn't make these too often!  They are highly addictive! 


All that chewy, cinnamon goodness just melts in your mouth!  They taste just like soft snickerdoodle cookies, and they're even easier to make!  Just mix them up and bake! I haven't decided if that's a good thing or not yet!

Regardless, they are fantastic.  Definitely worth the calorie splurge.

Ingredients:
½ cup butter
¾ cup granulated sugar
¼ cup brown sugar
¼ teaspoon salt
3 large eggs
1 ½ teaspoons vanilla extract
2 cups all-purpose flour
1 Tablespoon cinnamon

3 Tablespoons granulated sugar + 1 tablespoon cinnamon  (for topping)
 
Directions:Preheat oven to 350F.  Line a 9”x13” pan with aluminum foil and grease.
 
In a large bowl, cream together the butter and sugars until light.  Beat in salt, eggs, and vanilla extract until well combined.  Fold in the flour, stirring until no streaks of flour are seen.  Pour dough into prepared pan—the dough will be thick, so you will have to spread it.
 Stir together remaining sugar and cinnamon.  Sprinkle mixture evenly over the surface.
Bake for 25-30 minutes, or until the bars are set and the edges are lightly browned.  Cool completely before slicing. 


Monday, June 10, 2013

Buh-Bye B.O.! Homemade coconut oil deoderant


As we use up the rest of our stockpiled deodorant, we began searching for a more natural alternative to keep the B.O. away.  Of course, we all know that I have an unrelenting love for coconut oil, so it was only fitting that a natural substitution would have to include my favorite ingredient. 


Another benefit to this homemade deodorant is that it is gentle and nourishing to the skin, while combating body odor and decreasing perspiration.  Everyone in our home has sensitive skin, so this is sort of a big deal to me!
 

Homemade coconut oil deodorant
What you’ll need:
6-8 Tablespoons solid organic coconut oil
¼ cup baking soda
¼ cup arrowroot powder or cornstarch (arrowroot is preferred)
few drops essential oil of your choice for fragrance (optional)
What to do:
1.       In a bowl, mix equal parts baking soda and arrowroot powder (or corn starch). 
2.       Slowly add coconut oil and combine with a spoon, mixing until the past is firm yet pliable (much like the texture of commercial deodorant). Mix in a few drops of essential oil, if desired.
3.      Spoon into an empty deodorant stick or a small plastic lidded container. 

This recipe makes about 1 cup of homemade deodorant, and should last two adults between 2-3 months with regular, daily use. 

Thursday, June 6, 2013

Homemade Vapor Rub


As I've said before, coconut oil is sort of an obsession with me.  Its great for your hair, skin, and nails.  We use it as an every day lotion, but it really comes in handy when cold season hits.

Growing up, I can remember my mom slathering me in Vick's VapoRub.  It's one of my favorite things when I'm feeling under the weather, but taking a look at the ingredients put a stop to its use.  I no longer like using petroleum based products, which lead me in search of a natural alternative.

And what do you know?  I discovered yet another use for my beloved coconut oil!

The stuff is amazing, I tell you!
 
Homemade Vapor Rub
 
What you'll need:
2 Tablespoons coconut oil
Eucalyptus or peppermint essential oil
small plastic container with a lid

What to do:
1.  Add the coconut oil to your plastic container.
2.  Add 5-7 drops of your essential oil and stir together.  If it isn't strong enough to your liking, add more essential oil in 2 drop increments until you reach the desired strength.
3.  Once it's all mixed up, slather it on your chest* (and feet, if you're like me!) and inhale as you drift into a restful sleep!* When using for babies and children, use half the amount of essential oil, or dilute already made Vapor Rub with more coconut oil before application.


To Make Homemade Whipped Vapor Rub, follow the recipe for Whipped Coconut Oil, adding your either eucalyptus or peppermint essential oil into the bowl before whisking.
 

Whipped Coconut Oil

One of my favorite ways to use coconut oil is topically, from an all over moisturizer to an intensive conditioner for my hair.  This is a super simple recipe for whipped coconut oil to be used for beauty, and best of all there is only one required ingredient.  Yep, just one.


Even for skin care, make sure you are using food quality organic coconut oil.  Your skin is your largest organ and absorbs what you put on it, so make sure you slater on the good stuff!

Homemade Whipped Coconut Oil

What you'll need:
1 cup organic coconut oil, a little below room temperature
a few drop of your favorite essential oil, for fragrance (optional)

What to do:
1.  Place your ingredients into a bowl.  Do not use melted coconut oil for this, as it will not whip up properly. It must be solid.

2.  Mix on high speed with a wire whisk for 6-8 minutes, or until whipped to a light, airy consistency.
I suggest using an electric mixer for this step.  Do not use a blender or food processor, as they tend to get too hot and melt the oil.

3.  Spoon whipped coconut oil into a glass jar for storage.  Keep at room temperature, or in the fridge if your house is warm enough to melt the oil.
This will stay soft even when cool and shouldn't become hard like coconut normally does when it gets too cold.


This recipe is wonderfully easy and customizable.  Use it instead of lotion for the whole family, as a conditioner, and  shaving cream.  This recipe can also serve as the basis for Homemade Vapor Rub. 

My Top 10 uses for Coconut oil

 
Anyone close to me has had to endure my borderline obsession with coconut oil.  They've had to listen to me rant and rave about the wonderful properties and varied uses this beautiful oil.  Seriously, the stuff is pretty amazing though, and so versatile. 
 
For about a year now, it has been a staple in our home.  What started as a natural alternative to many remedies for pregnancy woes and newborn needs has turned into a life changer.  It is moisturizing in addition to having anti-fungal and antibacterial properties.  Not to mention, it tastes amazing.
 
From dietary and medicinal uses to beauty and hygiene, here are

My top 10 uses for coconut oil
 
1.  As an all natural lotion for the entire family.

It smells amazing and absorbs easily into the skin.
Use it as is, or whip up a batch of whipped coconut oil.
(Find the easy recipe for Whipped Coconut Oil here.)


2.  As a natural alternative for butt cream for baby, and as an ingredient in my homemade baby wipes.This stuff cleared up my sons HORRIBLE yeast diaper rash in a day,
and hasn't had another rash since I switched to using it whenever I notice irritation. 


3.  As make-up remover and a great facial moisturizer.
Bonus:  it also helps to clear up break outs when used regularly, and has a natural SPF of 4.

4.  Use it as "Gunk Remover".Mix it with enough baking soda to form a paste and smear it over the sticker or residue.
Let it set for 15 minute or so, then wipe the gunk away with a wet washcloth.

5.  In the shower.
Coconut oil works wonderfully in place of shaving creams or gels,
and you moisturize while you shave.
It also works wonderfully as a deep conditioner.

6.  To help with the healing of injury and infection.
Coconut oil helps to clear up yeast infections when applied
topically as well as when taken internally.
After the initial heat has left a burn, the application of a little
coconut oil helps the injured skin to heal.
 
7.  In homemade vapor rub.
One of our favorite things when we have colds is to slather this stuff on.
(Find out how to make it here.)

8. As a homemade deodorant.
Either alone, or mixed with baking soda and your favorite essential oil.
 

9.  As a luxurious massage oil.
Relaxation!
 
 
and, last, but certainly not least,
 

10.  To EAT! 
Coconut oil is great for cooking because of it's high smoke point. 
Use it to stir-fry, substituted for vegetable oils in your recipes, as an alternative
to butter on bread, or simply by the spoonful!  YUM!
 
 
These are just a few of my favorite uses for coconut oil!  What are some of the ways you use it in your home?
 
Be sure to check back as I add links for some great recipes for the goodies mentioned in this post!